科学白嫖“图档清洁专家”
代码仅作学习用途,请勿分享传播。
代码在这里。
问题背景
因为实体书购买麻烦、厚重、占地空间大(对于国外的一些原版教材来说,价格高昂),我一直是电子书的忠实拥趸。一般来说,市面上下载的到的电子书大致可以分为以下几类:
- 基于原内容的排版可变格式:一般为EPUB、MOBI或TXT格式,动态排版,在任何屏幕大小下都适合阅读。有索引,文字与图像本地渲染,清晰可辨。这是电子书的理想格式,但这种格式的书大多是以小说,我几乎没有见到过用这种格式排版的学术的教科书。
- 基于原内容的PDF:基于书的源文件直接渲染得来,排版不可变,在没有重排软件的情况下需要大屏阅读器才能舒适阅读,并且需要适当对页边进行裁剪。大部分时候有索引,文字和图像本地渲染,清晰可辨。这种PDF可遇而不可求。有教授把这种格式的书放在官网上给学生们免费下载(比如说这个)——我愿称他们为大善人。
- 精修的扫描PDF:是基于实体书扫描而来,文字部分经过OCR和轮廓平滑化变得更加清晰,公式可能经过重写也很清楚。良心一点的制作者会顺便把目录也做了。这种PDF(有的时候是DJVU)见到的概率比较高,libgen上十本里面能有六七本。我的Introduction to Linear Algebra就是这种类型。
- 三无的扫描PDF:PDF制作者只进行了基本的扫描。文字有倾斜,页面有阴影,页边缘出镜导致黑边,有些还会有铅笔的笔记。OCR是没有的,目录是不用指望的。这种是电子书里的下品,像我这样有一些轻微强迫症的会觉得很难受。
最近自己要找的一本书搜遍了网上也只有三无版本,真的感觉头很大,体验极差。那么,有什么办法能把这种三无版本清理一下,使之朝精修PDF的方向上靠拢呢?
图档清洁专家是我前几天在网上发现的。实测效果拔群。缺点是要付60块钱买正版。60元不是什么大钱,但是人是要有追求的:

正好,图档清理专家提供了在线体验,这个在线体验提供的功能已经涵盖了我的需求了,但是为了防止我们白嫖地太爽,在线体验限制只能上传图片文件。对于我手里这本460页的教科书,一页页手工操作能把人折磨死。怎么办呢?
用Python自动化试试看?似乎能学到很多东西的样子。
代码实现
我们的脚本需要实现以下功能:
- 将输入的PDF按页转换成高清图片。
- 以某种方式程序化地调用在线体验的功能。
- 将结果的图片下载下来重新拼合成为PDF。
- 可以顺便使用pytesseract实现OCR。
PDF光栅化
如果只考虑“将PDF转化为图片”的功能,最切题的库是pdf2image,底层调用的工具是poppler。这也是我一开始的选择。
但是后来转念一想,既然后面还有要将图片转PDF,PDF拼合的需求,寻找一款更为通用的PDF库是更明智的做法。
经过一番搜索,跳过已经五年没有出过新版本的的PyPDF2,我选择了目前维护勤快的PyMuPDF。PyMuPDF调用的是MuPDF这个用C写的成熟的PDF库,功能与性能都是有保障的。MuPDF的license上说明对于开源项目免费授权,因此我就大胆地用了。
使用PyMuPDF进行PDF的光栅化,代码如下:
import fitz
from typing import Optional, Generator, Union
from pathlib import Path

StrPath = Union[str, os.PathLike]

def convert_pdf_to_images(pdf: StrPath, fmt: str, dpi: int,
                          output: Optional[StrPath] = None,
                          first_page: Optional[int] = None,
                          last_page: Optional[int] = None) \
        -> Generator[StrPath, None, None]:
    """
    Converts a pdf file to images. This a necessary pre-processing step
    because docleaner online only accepts images as inputs.

    :param pdf: The path to the pdf file.
    :param fmt: Image file format. jpg is the fastest but not lossless; png is
        lossless but slow; tiff is theoretically the best but occupies a lot of
        disk space.
    :param dpi: Pixel density of the output images.
    :param output: The output directory of intermediate images.
    :param first_page: First page to convert (starting from 1, inclusive).
    :param last_page: Last page to convert (starting from 1, inclusive).
    :return: A generator yielding the paths to the images.
    """
    doc = fitz.Document(pdf)

    @contextmanager
    def normal_dir(dir_path):
        Path(dir_path).mkdir(parents=True, exist_ok=True)
        yield dir_path

    matrix = fitz.Matrix(dpi / 72, dpi / 72)
    first_page = 0 if first_page is None else first_page - 1
    last_page = doc.page_count if last_page is None else last_page
    with tempfile.TemporaryDirectory() if output is None else normal_dir(
            output) as path:
        for i in range(first_page, last_page):
            filename = os.path.join(path, f"{i}.{fmt}")
            # noinspection PyUnresolvedReferences
            doc[i].get_pixmap(matrix=matrix).save(filename)
            yield filename
        if output is None:
            # Yield an empty string if we are using a temporary directory,
            # because without this, the temporary directory will be cleaned
            # up the moment the last filename is yielded, when the caller
            # hasn't done anything to the yielded temp file yet. Yielding an
            # emtpy string keeps the TemporaryDirectory object in memory
            # longer so the problem is solved.
            yield ""
这个代码乍一看是比较复杂,有几个重点:
- 代码写成了生成器的形式,这样便于和后续的其他功能进行更好的耦合。个人认为生成器是一个很不错的语法糖。
- 为了方便静态检查,我这里给方法签名标注了类型。
- 为了同时处理输出图片到临时目录和正常目录(可以用于其他工具)的情形,这里定义了名为
normal_dir的context manager以和TemporaryDirectory保持形式上的一致。这样代码可以更加简短。要使用TemporaryDirectory()而不是mkdtemp()的原因是前者确保了临时文件夹最终会被删除。 - 但是
TemporaryDirectory()在结束后删除临时文件夹会带来一个问题:在yield最后一页的图片的路径之后,临时文件夹马上就被删除了,刚返回的路径也就失效了。调用这个生成器的代码使用的时候就会产生找不到文件的错误。一个粗暴的解决方案就是让with块执行得再久一点——比如说在下次调用的时候再结束。这就是最后yield ""的意义。 - PyMyPDF默认的
get_pixmap方法输出的图片分辨率等于当前页面的边界矩形大小(bound rectangle)。这个边界矩形尺寸是以点数(pts)为单位的,1英寸等于72点,因此如果需要达到指定的DPI,get_pixmap在执行的时候就需要放大dpi / 72倍。这就是matrix = fitz.Matrix(dpi / 72, dpi / 72)的含义。
剩下的无非就是看文档写代码。
使用Selenium自动化“在线体验”
人工一页一页上传手抽筋怎么办?一个很自然的思路就是让代码来直接操控浏览器。在这方面,因为网站开发自动化测试的需求,有人已经帮我们写好轮子了——Selenium。
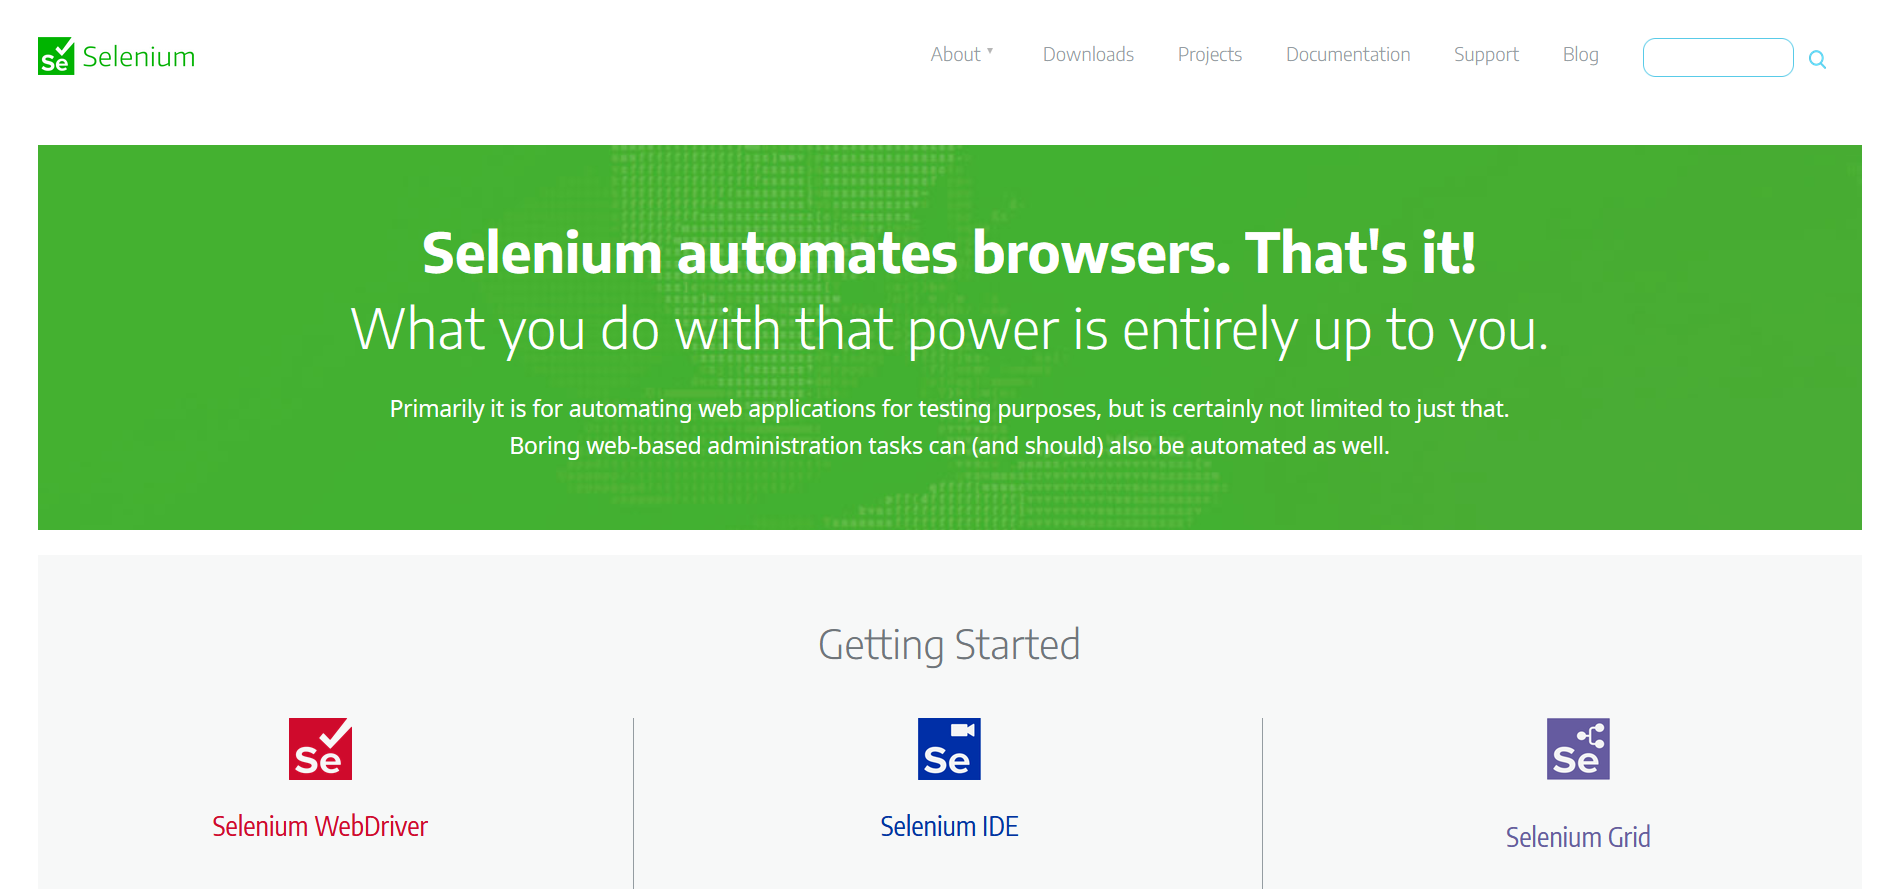
根据官网上的描述,Selenium和我们的需求完美对接,而且Selenium提供了Python的接口。
使用Selenium的第一步是打开浏览器并且访问目标网页:
from selenium import webdriver

browser = webdriver.Chrome()
# browser = webdriver.Firefox()
# browser = webdriver.Edge()
# browser = webdriver.Safari()
browser.get("http://www.docleaner.cn/experience.html")
打开哪个浏览器就取决于个人喜好了。在这里需要注意:除了在Python环境里安装selenium包以外,还需要自行安装对应浏览器的WebDriver。具体如何装,怎么装,请参阅Selenium的文档。就我个人体验而言,Chrome的WebDriver启动得很快,但是默认会把日志写入控制台导致进度条显示混乱;Firefox得WebDriver要花一两秒启动,但默认会写日志到geckodriver.log里面。

在执行以上代码之后要做两件事:
- 等待页面加载完毕(废话),以及
- 打开去背景和自动纠斜这两个默认关闭但是很有用的开关。
Selenium的API允许我们把两件事并在一起做,前提是我要知道两个开关的“路径”——CSS选择器或XPath都行。
from selenium.webdriver.common.by import By
from selenium.webdriver.support import expected_conditions
from selenium.webdriver.support.ui import WebDriverWait

WebDriverWait(browser, timeout).until(
    expected_conditions.visibility_of_element_located(
        (By.XPATH,
        "开关的XPath")
    )
).click()
以“自动纠斜”开关为例,其周围的HTML如下:
<div style="position: relative;">
    <button type="button" class="layui-btn layui-btn-primary buttoncss buttoncss0" style="padding: 0 10px;">
        <img src="http://www.docleaner.cn/templets/1/qwsoft//resource/images/jiuxie.png">自动纠斜
    </button>
    <div class="buttoncheckbox">
        <input type="checkbox" name="exeConfig" lay-filter="exeConfig" value="自动纠斜" lay-skin="primary">
        <div class="layui-unselect layui-form-checkbox" lay-skin="primary"><i class="layui-icon layui-icon-ok"></i></div>
    </div>
</div>我们的目标是那个<button>元素,比较好找的是<input>元素,其XPath就是//input[@value='自动纠斜']。
接下来我们要使用XPath的Axes语义间接地定位到<button>:
//input[@value='自动纠斜']/parent::div/preceding-sibling::button
语义很清楚,就不多解释了。完整的Axes列表可以看这里。
类似地,我们可以定位上传按钮的位置:
uploader = WebDriverWait(browser, timeout).until(
    expected_conditions.presence_of_element_located(
(By.CLASS_NAME, "layui-upload-file")))注意到这里是presence_of_element_located,前面是visibility_of_element_located,区别在于后者必须要求元素在浏览器框里面可视,而前者只需要DOM里有就行了。我们之前需要点击开关,因此必须先看得见才行(而且可视是确保网页加载完毕的一个更靠谱的条件),而上传控件在网页里是一个隐藏起来的<input>,因此只要present
in DOM就行了。
往上传控件上传东西调用的是send_keys函数,很有意思:
uploader.send_keys(file_path)然后等一会网页右边就会出现处理后的图像。其实显示结果的<img>一直都在,只是直到处理完成之后才可见,我们借此找到这个控件并且作为处理完成的依据:
result = WebDriverWait(browser, timeout).until(
    expected_conditions.visibility_of_element_located(
(By.ID, "dragImgRight")))开发者很好心地(?)在结果图像控件的src字段直接使用base64编码图片,连额外下载的代码都免了,我们直接得到结果图像:
import io
import base64
from PIL import Image

result = result.get_attribute("src")
result = base64.b64decode(
    result.replace("data:image/jpg;base64,", ""))
yield Image.open(io.BytesIO(result))最后,注意把结果的<img>再藏起来,这样通过可见性来判断是否处理完成的逻辑在下一张图片传上去的时候才有效。经查,结果的可见性通过<img>父元素class列表里layui-hide的存在与否来判定。我们选择通过Selenium让浏览器执行JavaScript进行这种有点复杂度的操作:
browser.execute_script(
"arguments[0].parentNode.classList.add('layui-hide');", result)arguments自然就是后面传参的数组。
完整的代码如下:
def clean_doc_online(images: Generator[StrPath, None, None], browser: str) \
        -> Generator[Image.Image, None, None]:
    """
    Cleans the scanned document pages using docleaner's online service.

    :param images: A generator yielding paths to document pages.
    :param browser: Browser type, can be "chrome", "firefox", "safari", or
        "edge". Requires the browser and its webdriver to be installed.
    """
    if browser == "chrome":
        browser = webdriver.Chrome()
    elif browser == "firefox":
        browser = webdriver.Firefox()
    elif browser == "safari":
        browser = webdriver.Safari()
    elif browser == "edge":
        browser = webdriver.Edge()
    else:
        raise RuntimeError("Unknown browser type")
    # Timeout for web driver waits. 10s is a reasonable value unless you have
    # a very high-res image / terrible network.
    timeout = 10
    browser.get("http://www.docleaner.cn/experience.html")

    # Turn on background removal and automatic deskewing.
    WebDriverWait(browser, timeout).until(
        expected_conditions.visibility_of_element_located(
            (By.XPATH,
             "//input[@value='去背景']/parent::div/preceding-sibling::button")
        )
    ).click()
    WebDriverWait(browser, timeout).until(
        expected_conditions.visibility_of_element_located(
            (By.XPATH,
             "//input[@value='自动纠斜']/parent::div/preceding-sibling::button")
        )
    ).click()
    # Wait for a while to ensure the changes take effect.
    time.sleep(1)

    uploader = WebDriverWait(browser, timeout).until(
        expected_conditions.presence_of_element_located(
            (By.CLASS_NAME, "layui-upload-file")))

    try:
        uploader.send_keys(next(images))
        while True:
            # Write like this instead of a for loop enables us to fetch the
            # next image while the browser & remote server are processing the
            # image just uploaded. Converting a pdf page to an image is slow,
            # so we here save a lot of time :)
            next_image = next(images)
            # Wait for the result image to be visible.
            result = WebDriverWait(browser, timeout).until(
                expected_conditions.visibility_of_element_located(
                    (By.ID, "dragImgRight")))
            # Hide the result image again so the wait condition above can be
            # re-used.
            browser.execute_script(
                "arguments[0].parentNode.classList.add('layui-hide');", result)
            result = result.get_attribute("src")
            result = base64.b64decode(
                result.replace("data:image/jpg;base64,", ""))
            yield Image.open(io.BytesIO(result))
            if next_image == "":
                # See convert_pdf_to_images for the reason behind this weird
                # branch.
                break
            uploader.send_keys(next_image)
    except StopIteration:
        pass

    browser.quit()
注意三点:
- 之前在PDF转图片的设计中有返回空路径的奇技淫巧需要特判。
- 在点击开关之后需要等一会来确保开关真的点下去了。
- 循环的写法最好不要写成标准的
for循环,因为这样的话文件图片上去之后代码就是干等。现在的写法确保了图片传上去之后立刻就获取下一张图片,之后再判断等待是否当前图片处理完成。再调用next(images)的过程中,浏览器也在独立于Python进程运行,因此我们毫无损失。将PDF的一页转化为一张高清图片需要1-2秒钟,而网站处理图片大概也是这么长时间,因此在这里循环写法的改变是一个很不错的优化。
将下载下来的图片拼合回PDF
这个功能的实现是相对简单,只要照着PyMuPDF的文档写就行了。
同时,我注意到pytesseract里面有输入图片直接输出PDF的函数,因此可以一并在这里完成。
顺便可以通过tqdm显示一个进度条,方便看清进度。
最终代码如下:
from tqdm import tqdm
import pytesseract

def convert_images_to_pdf(images: Generator[Image.Image, None, None],
                          output: StrPath,
                          ocr: bool = True, total: Optional[int] = None):
    """
    Converts and merges images to a one-page pdf file, performing optional
    OCR in the process.

    :param images: A generator yielding PIL image objects.
    :param output: Path to the result pdf.
    :param ocr: Whether to perform OCR(Optical Character Recognition).
    :param total: An optional integer hinting the total number of images given.
        If supplied, a progress bar will be displayed during the conversion.
    """
    doc = fitz.Document()
    for image in images if total is None else tqdm(images, total=total):
        if ocr:
            pdf = pytesseract.image_to_pdf_or_hocr(image)
            page = fitz.Document(stream=pdf, filetype="pdf")
            doc.insert_pdf(page)
        else:
            # noinspection PyUnresolvedReferences
            page = doc.new_page(width=image.width, height=image.height)
            buffer = io.BytesIO()
            image.save(buffer, format="jpeg")
            page.insert_image(fitz.Rect(0, 0, image.width, image.height),
                              stream=buffer)
    doc.save(output)
CLI封装
在最后的最后,可以通过Click库,为脚本进行一个CLI的封装:
import click

@click.command()
@click.argument("input", type=click.Path(exists=True))
@click.argument("output", type=click.Path())
@click.option("-f", "--format", default="png",
              help="Intermediate image format.")
@click.option("-d", "--dpi", default=300, help="DPI for rasterization.")
@click.option("-b", "--browser", default="chrome",
              help="The browser selenium uses.")
@click.option("--first-page", type=int, help="First page to convert/clean.")
@click.option("--last-page", type=int, help="Last page to convert/clean.")
@click.option("--ocr/--no-ocr", default=True,
              help="Whether to perform OCR during the conversion.")
@click.option("--clean/--dont-clean", default=True,
              help="Whether to clean pdf using docleaner's online service.")
def main(input: str, output: str, format: str, dpi: int, browser: str,
         first_page: Optional[int], last_page: Optional[int], ocr: bool,
         clean: bool):
    images = convert_pdf_to_images(input, fmt=format, dpi=dpi,
                                   first_page=first_page, last_page=last_page)
    if clean:
        images = clean_doc_online(images, browser)
    doc = fitz.Document(input)
    total = (doc.page_count if last_page is None else last_page) \
        - (0 if first_page is None else first_page - 1)
    convert_images_to_pdf(images, output, ocr=ocr, total=total)


if __name__ == "__main__":
    main()
大功告成!
测试
我选取的测试书籍是津巴多的《态度改变与心理影响》。原文扫描版460页98.4MB,自动化脚本耗时半个小时左右处理完毕,结果大小为325MB。对比如下(典型页面):
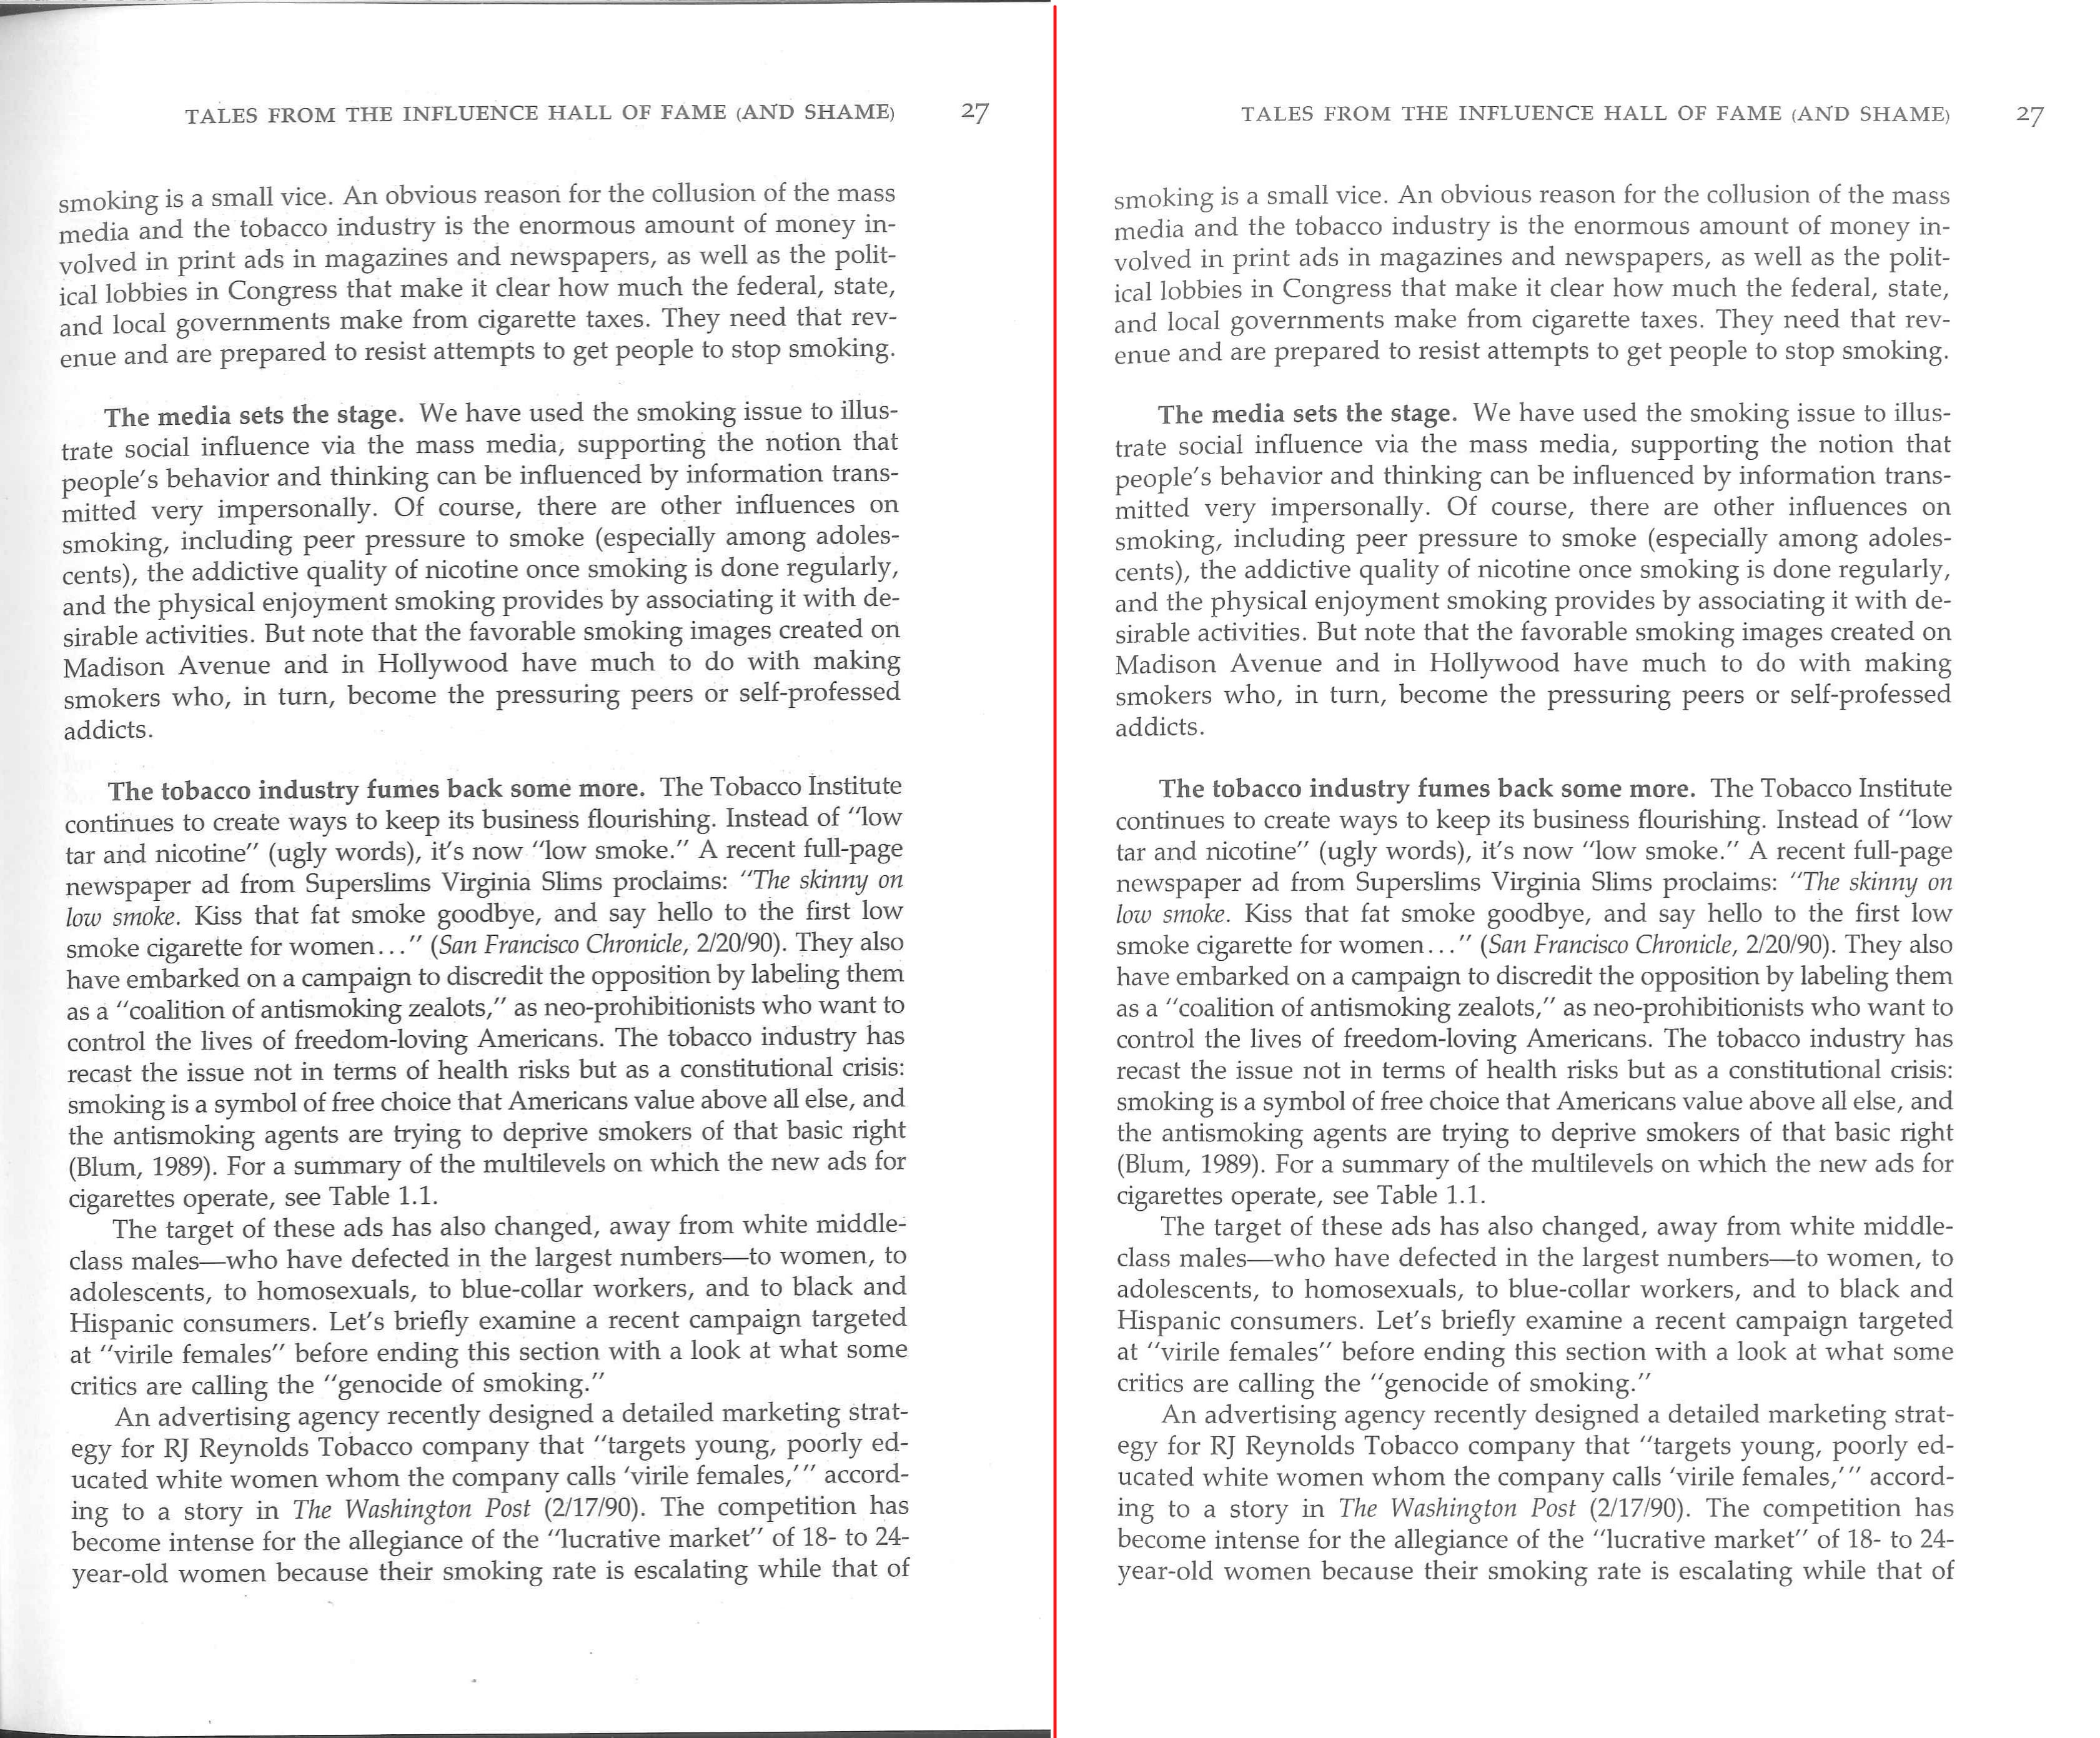
可以看到,脚本做出了显著的优化,但在脚本运行中也发现了一些可以改进的地方:
- 过于激进的光栅化分辨率使得结果文档的大小显著增加。
- 基于Selenium的解决方案偶尔会出现开关没有开或者莫名其妙地关掉的情形。
- 脚本的运行效率有待提升。
对于这三点,我们将在以后的文章中进行改进。